
What parts of the Geography KS3, 4 and 4 curricula could you cover in taking your students to a British woodland? And how? That was the question I had to research in preparing for a group of Oxford University Geography PGCE interns last week. The answer turned out to be quite a few, and the interns themselves came up with many ideas themselves.

On a walk round the Woods, we discussed physical geography concepts in the curriculum - landscape, topography, rock and vegetation types, farming practices and soils, ash die back disease, climate change impacts and climate change research, water cycle, flooding, and water pollution issues. For human geography we discussed who walks in the woods, how they get there and where they come from, the impact of human infrastructure and activities on the wildlife and landscape, and the control of deer. In a landscape like this, physical and human geography are closely intertwined.
Once back at the Chalet, the research station in Wytham Woods, over coffee and biscuits we discussed risk assessments, and behaviour management, and how to get the most out of a day in the woods for the wellbeing of students and teachers. My top tips are
Prepare yourself so that you feel confident. Doing something like a bushcraft or foraging course means you will recognise hazards and feel less fearful of what is around you. An outdoor first aid course should be on every geography teachers’ to do list.
Visit the site beforehand if you can. Do a detailed risk assessment, and think about your contingency plan in the event of your worst case scenarios. Discuss this with the colleagues who are accompanying you. Have a clear plan of who does what in the event of an incident. And discuss approach and tone, and how to keep everyone confident and happy.
Have lots of empathy for your students - consider how they are feeling about their trip - prepare them for what is coming by making triple sure they have everything they need, showing them a video of the site, inviting students who might have been there before to come and talk to them about it. Maybe ask them to anonymously say what might be worrying them and discuss those worries as a class.
On site, act as a team with the students. Engage them in carrying kit, navigating, identifying risks etc. Celebrate their nature identification skills, or drawing skills, which might be better than yours. Set the tone by being relaxed and enjoying your surroundings.
Make sure that the student know to have their phones with them, charged, switched on and NOT on silent. This is counter-intuitive to them when they are in school mode so you have to make the point. Have their numbers, and make sure they have yours (probably a school phone). Make sure yours is charged and on.
Ask students to choose a buddy for the day to keep an eye on, and then buddy up the pairs and give them responsibility for the other pair, and then allocate a teacher to as many sets of 4 as you have students. When on the move make sure a teacher is stationed at the back - and concentrating on not letting any student get behind them.
Make the most of the wellbeing opportunities by scheduling in time for sitting and relaxing, doing sketches or taking photographs.
Back outside, we tried out some carbon cycle and water cycle fieldwork measurements - it’s not as easy as it looks to lay out a 25m square in the woods!
The treat at the end of the day was a climb up to the canopy walkway to admire the woods from above. Thanks to Alex Black from the School of Geography for making sure we were safe.

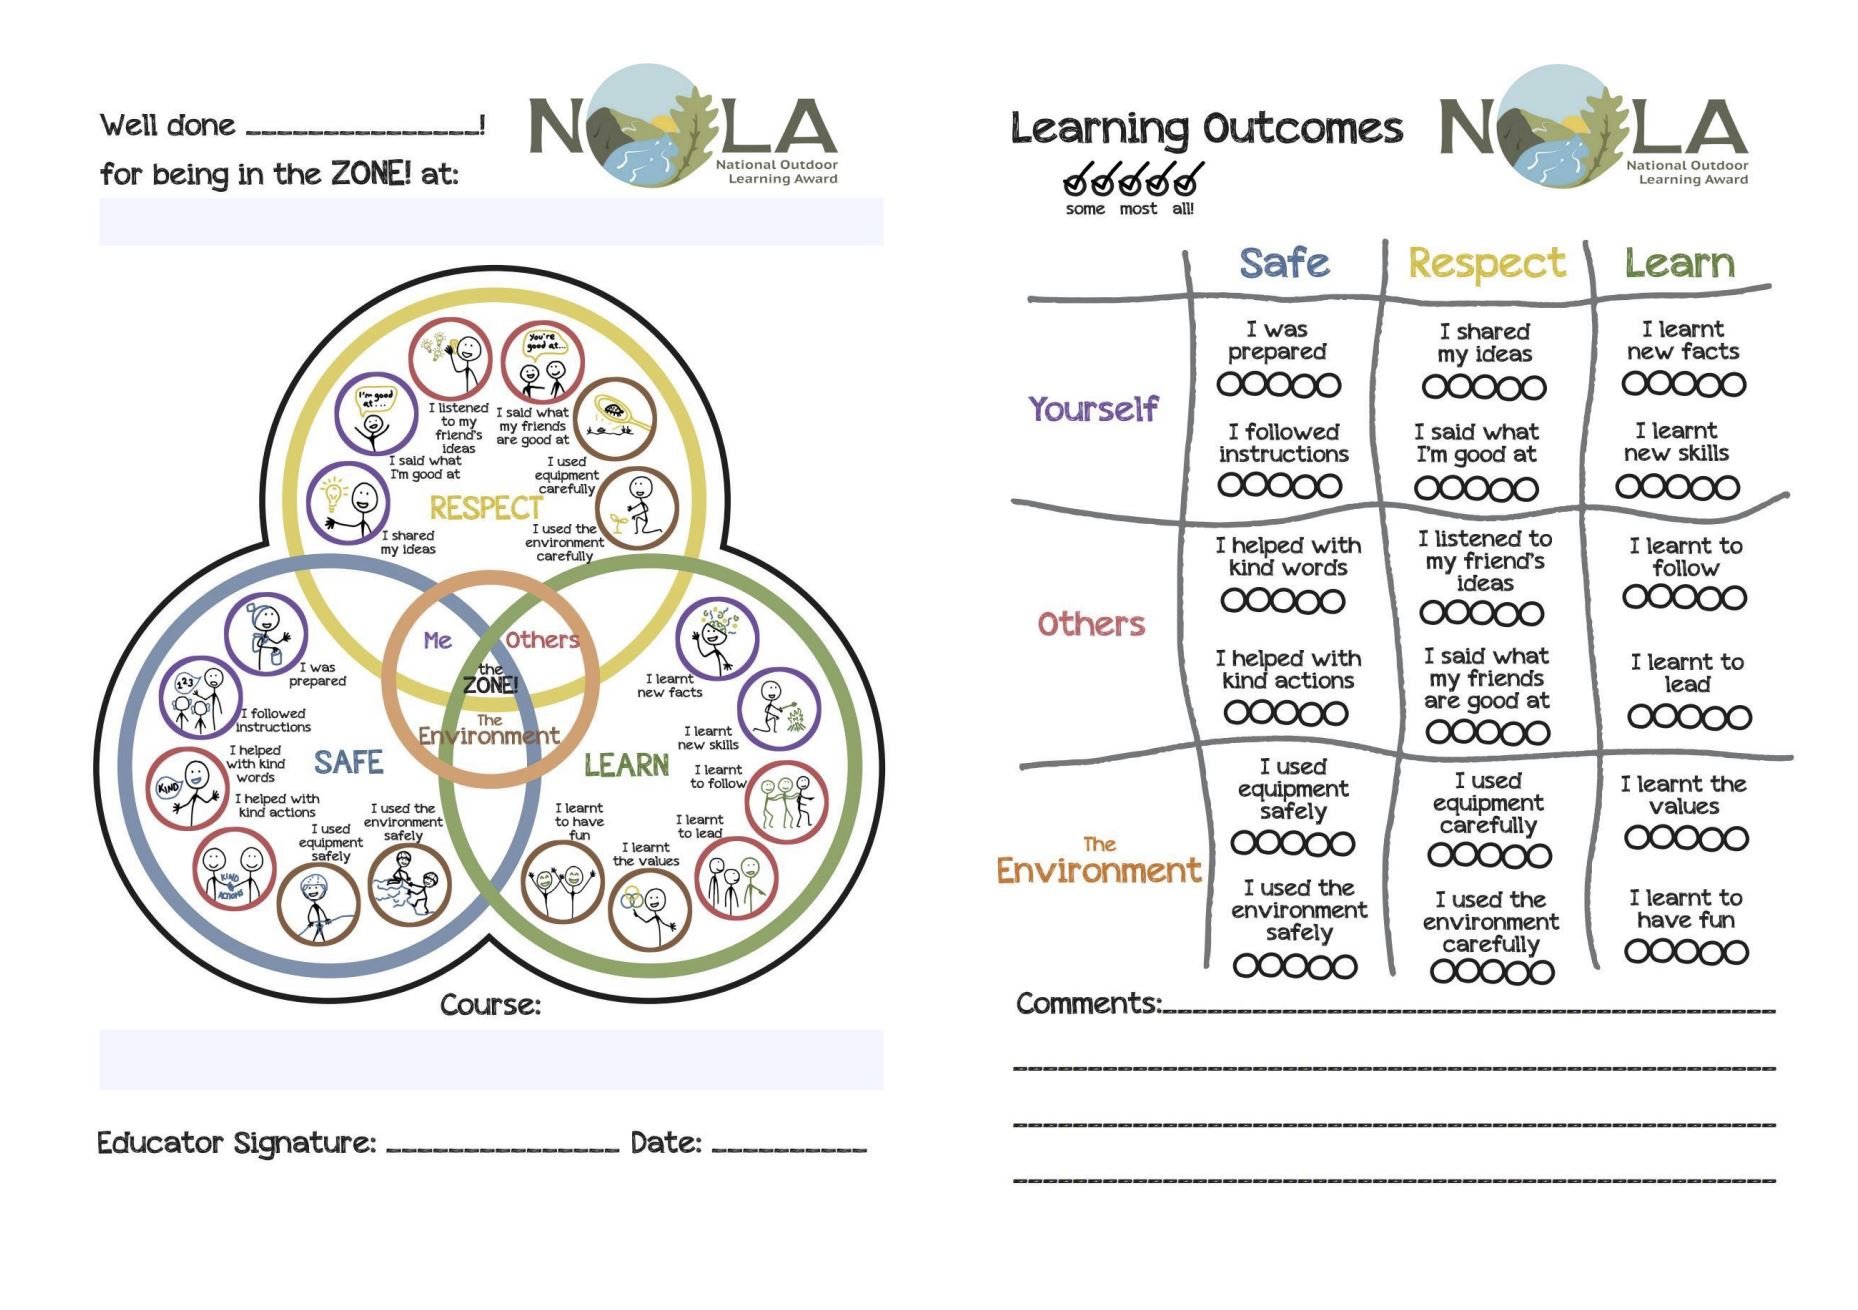
Finally, we used the National Outdoor Learning Award as a way to review the day, and to illustrate how it could be used with students.